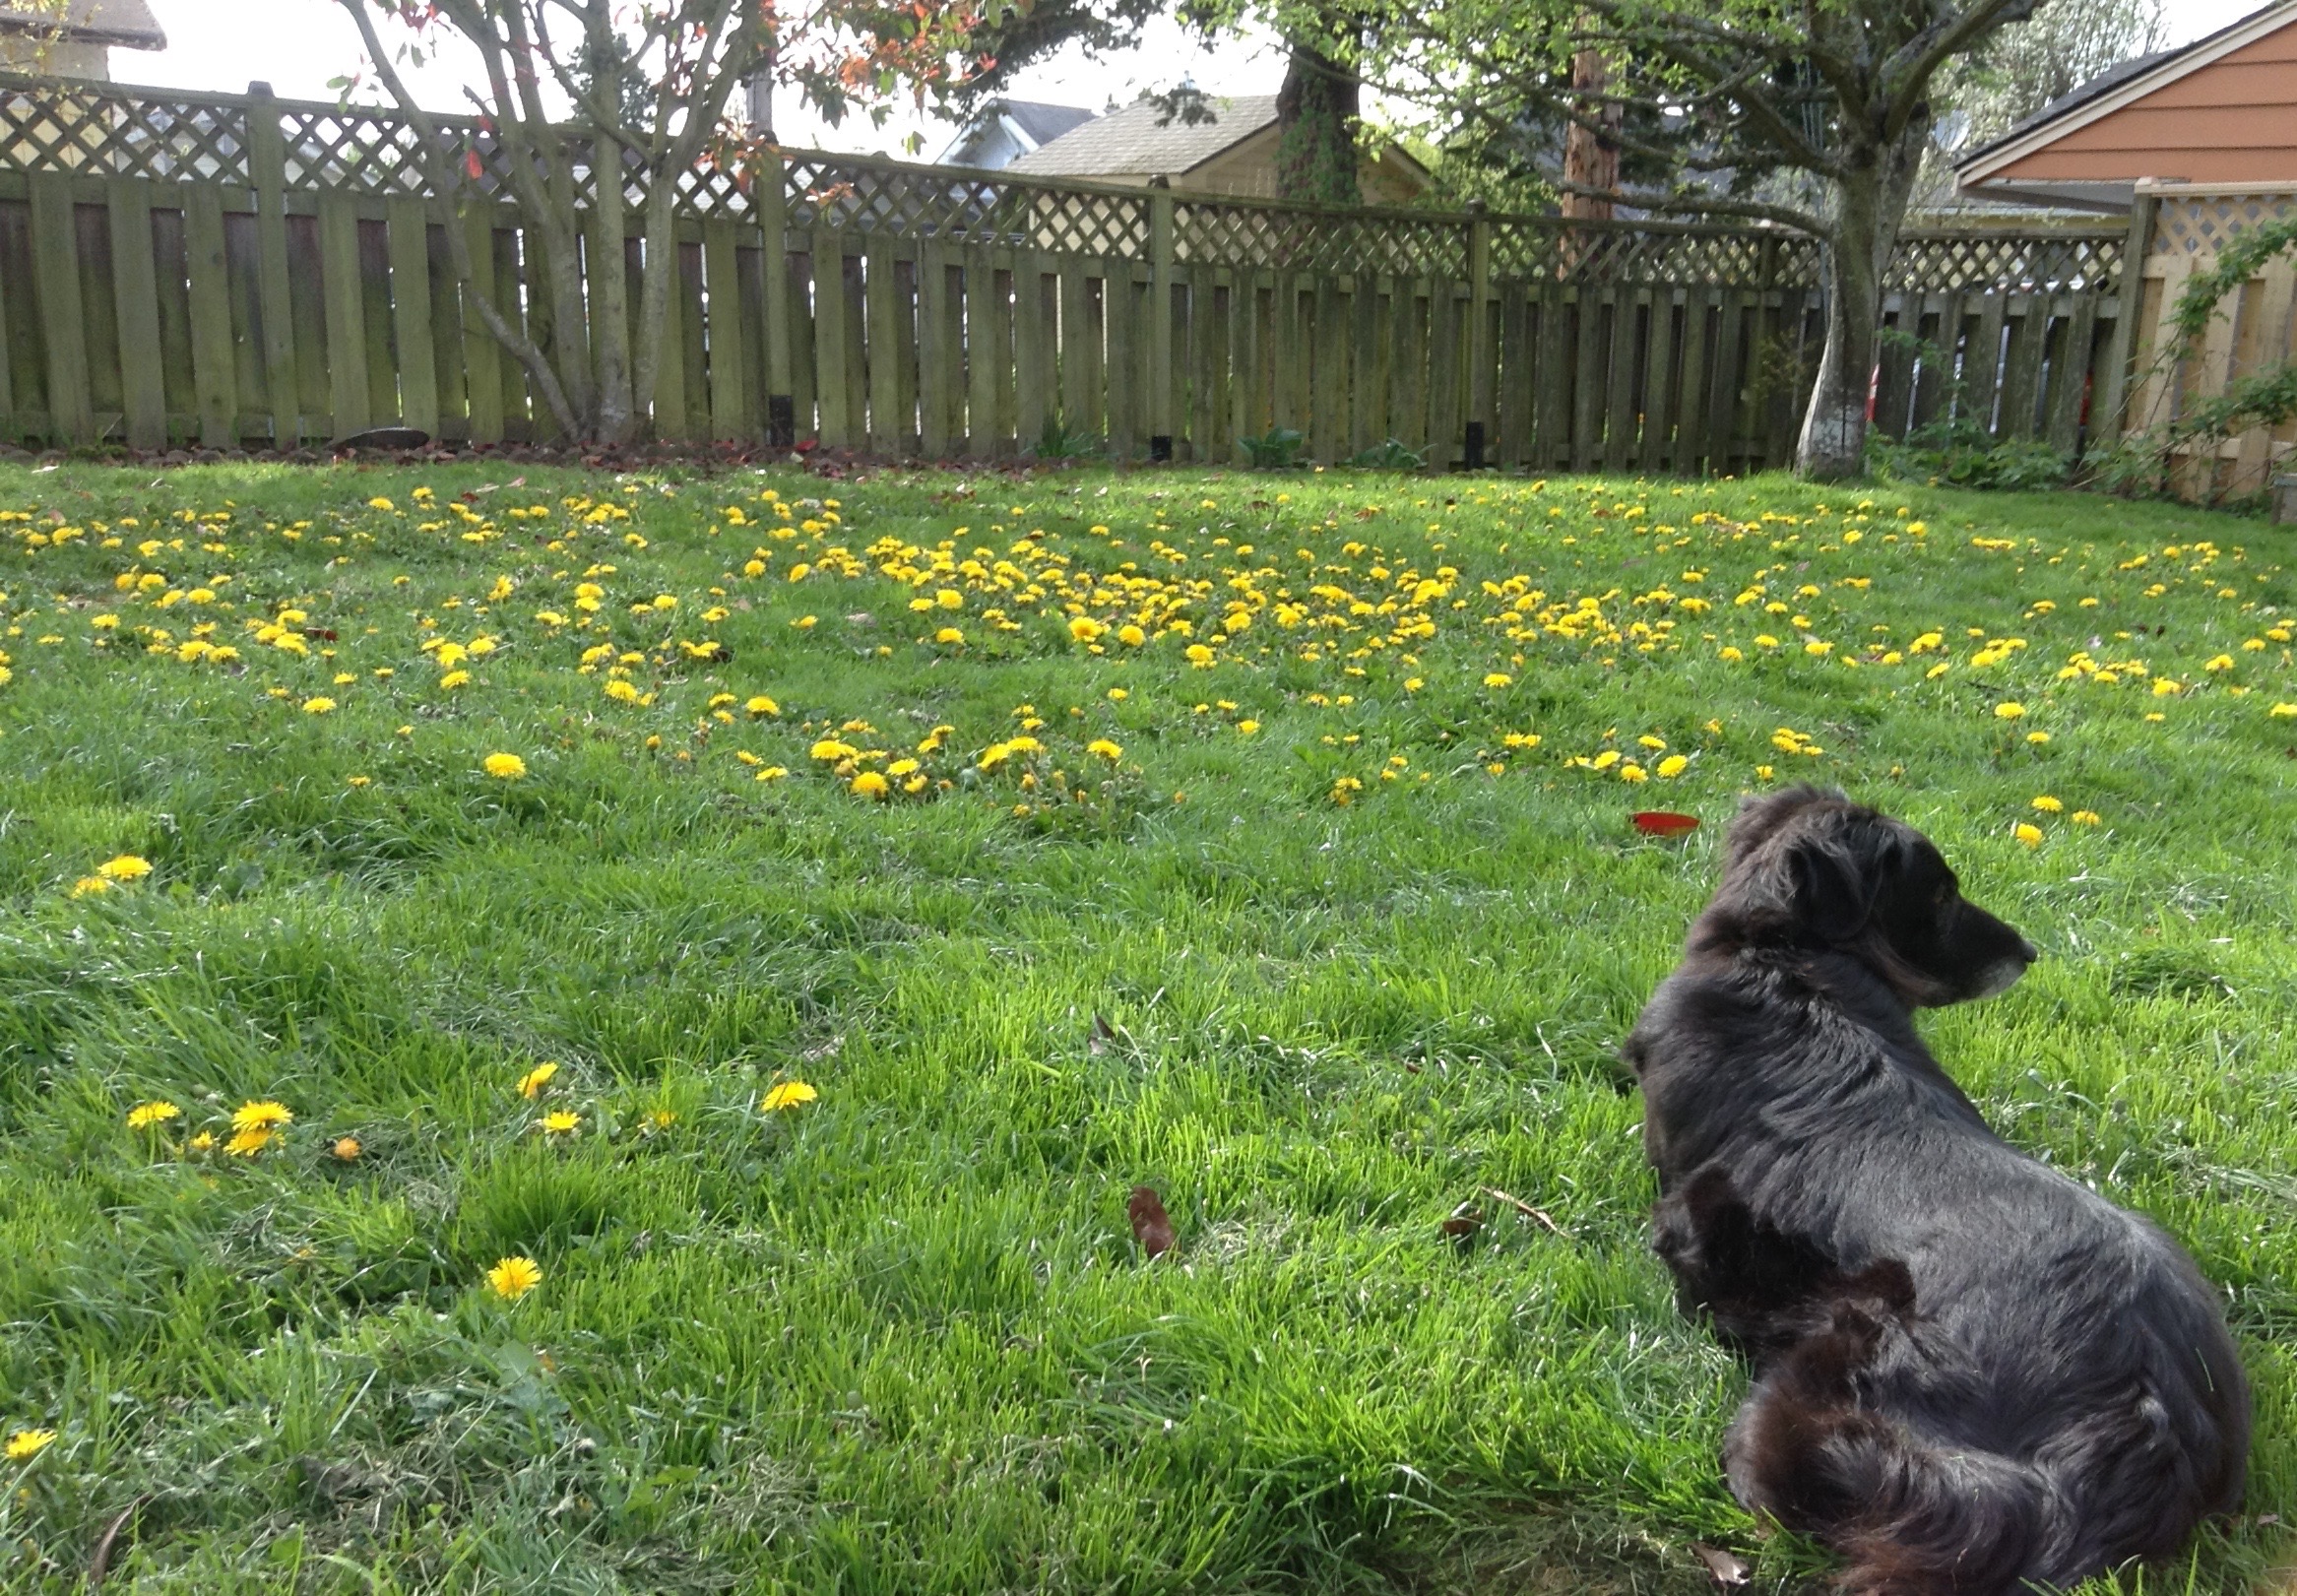
Our house sits on a busy residential corner in our small city. There are many moments when this is a huge frustration, particularly as the economic froth in Seattle has pushed more people north to Bellingham.
On the flip side, though, this exposure gives me a more visible platform for my favorite topic: a push for more pollinator- and people-friendly landscapes.
If you’re thinking about getting rid of some of your lawn–and I sincerely hope you are!–here’s what worked for us.
Planning and resources
Depending upon the size of yard you’re working with, lawn removal has the potential to be a very big, very expensive project.
At the beginning of this project, I really wanted help. It felt huge and overwhelming, and I wasn’t sure where to start. I talked to a couple of landscape designers, and they quoted me anywhere from $30,000 to $80,000 for the work. As much as I wanted guidance, that kind of money was not in line with my financial reality.
So I decided to do it myself.
Before jumping in, I’d spent several years reading about permaculture and native plants and daydreaming about garden design. We’ve lived in this house long enough to become acquainted with how each season affects things like soil moisture and amount of daylight, both of which vary dramatically in our climate. We know too how the house interacts with the garden, indoors and out.
And this is exactly what you need to be successful with this kind of project: an awareness of your site’s characteristics, knowledge of your needs and desires, and an understanding of how these interact with your budget and other constraints.
I tried free versions of landscape software but found pencil and paper to be most useful for my planning style. I was also very clear about my goals: I wanted pollinator-friendly plants that would provide privacy in the front, and plants that would provide food and beauty wherever I could squeeze them in. I wanted mostly perennials, with dedicated beds for annual veggies. Importantly, I wanted zero turf grass because I loathe caring for a plant that provides so very little in return.
You may perhaps be less dogmatic.
Microclimates matter
Permaculturists love to talk about zones, which is a concept that I too have found to be enormously useful. With my project, I divided the yard into general zones and then further into microclimates within those zones.
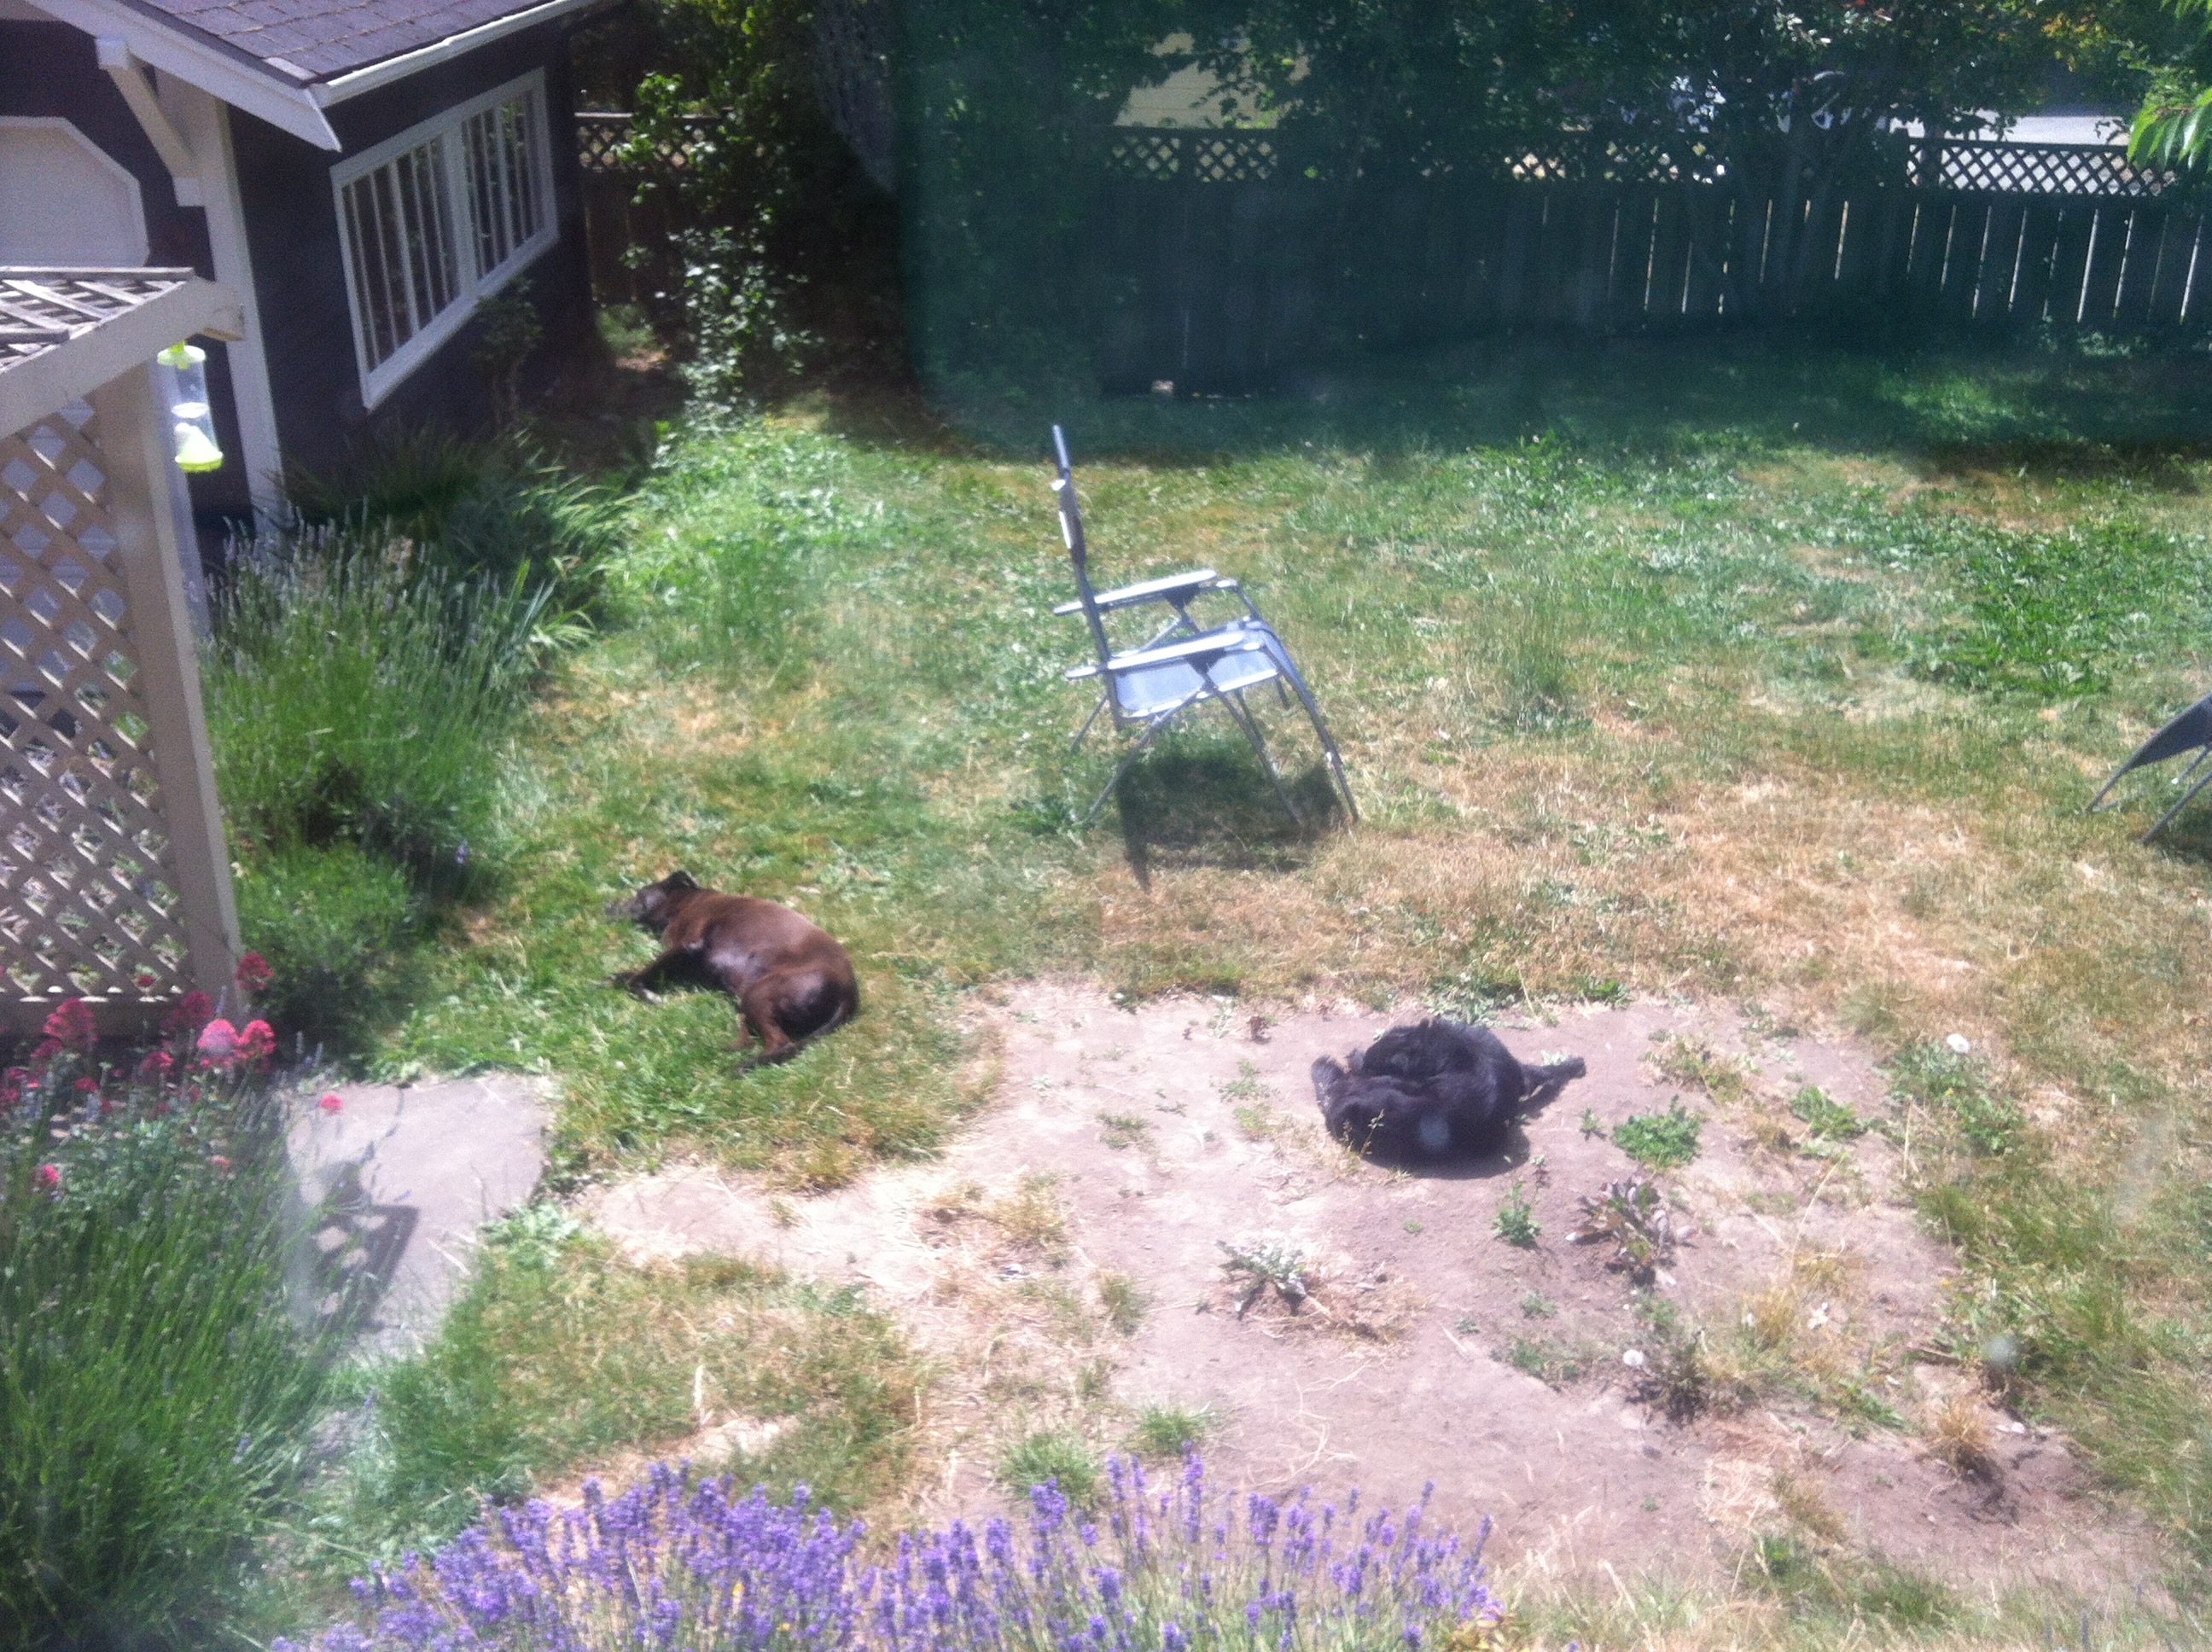
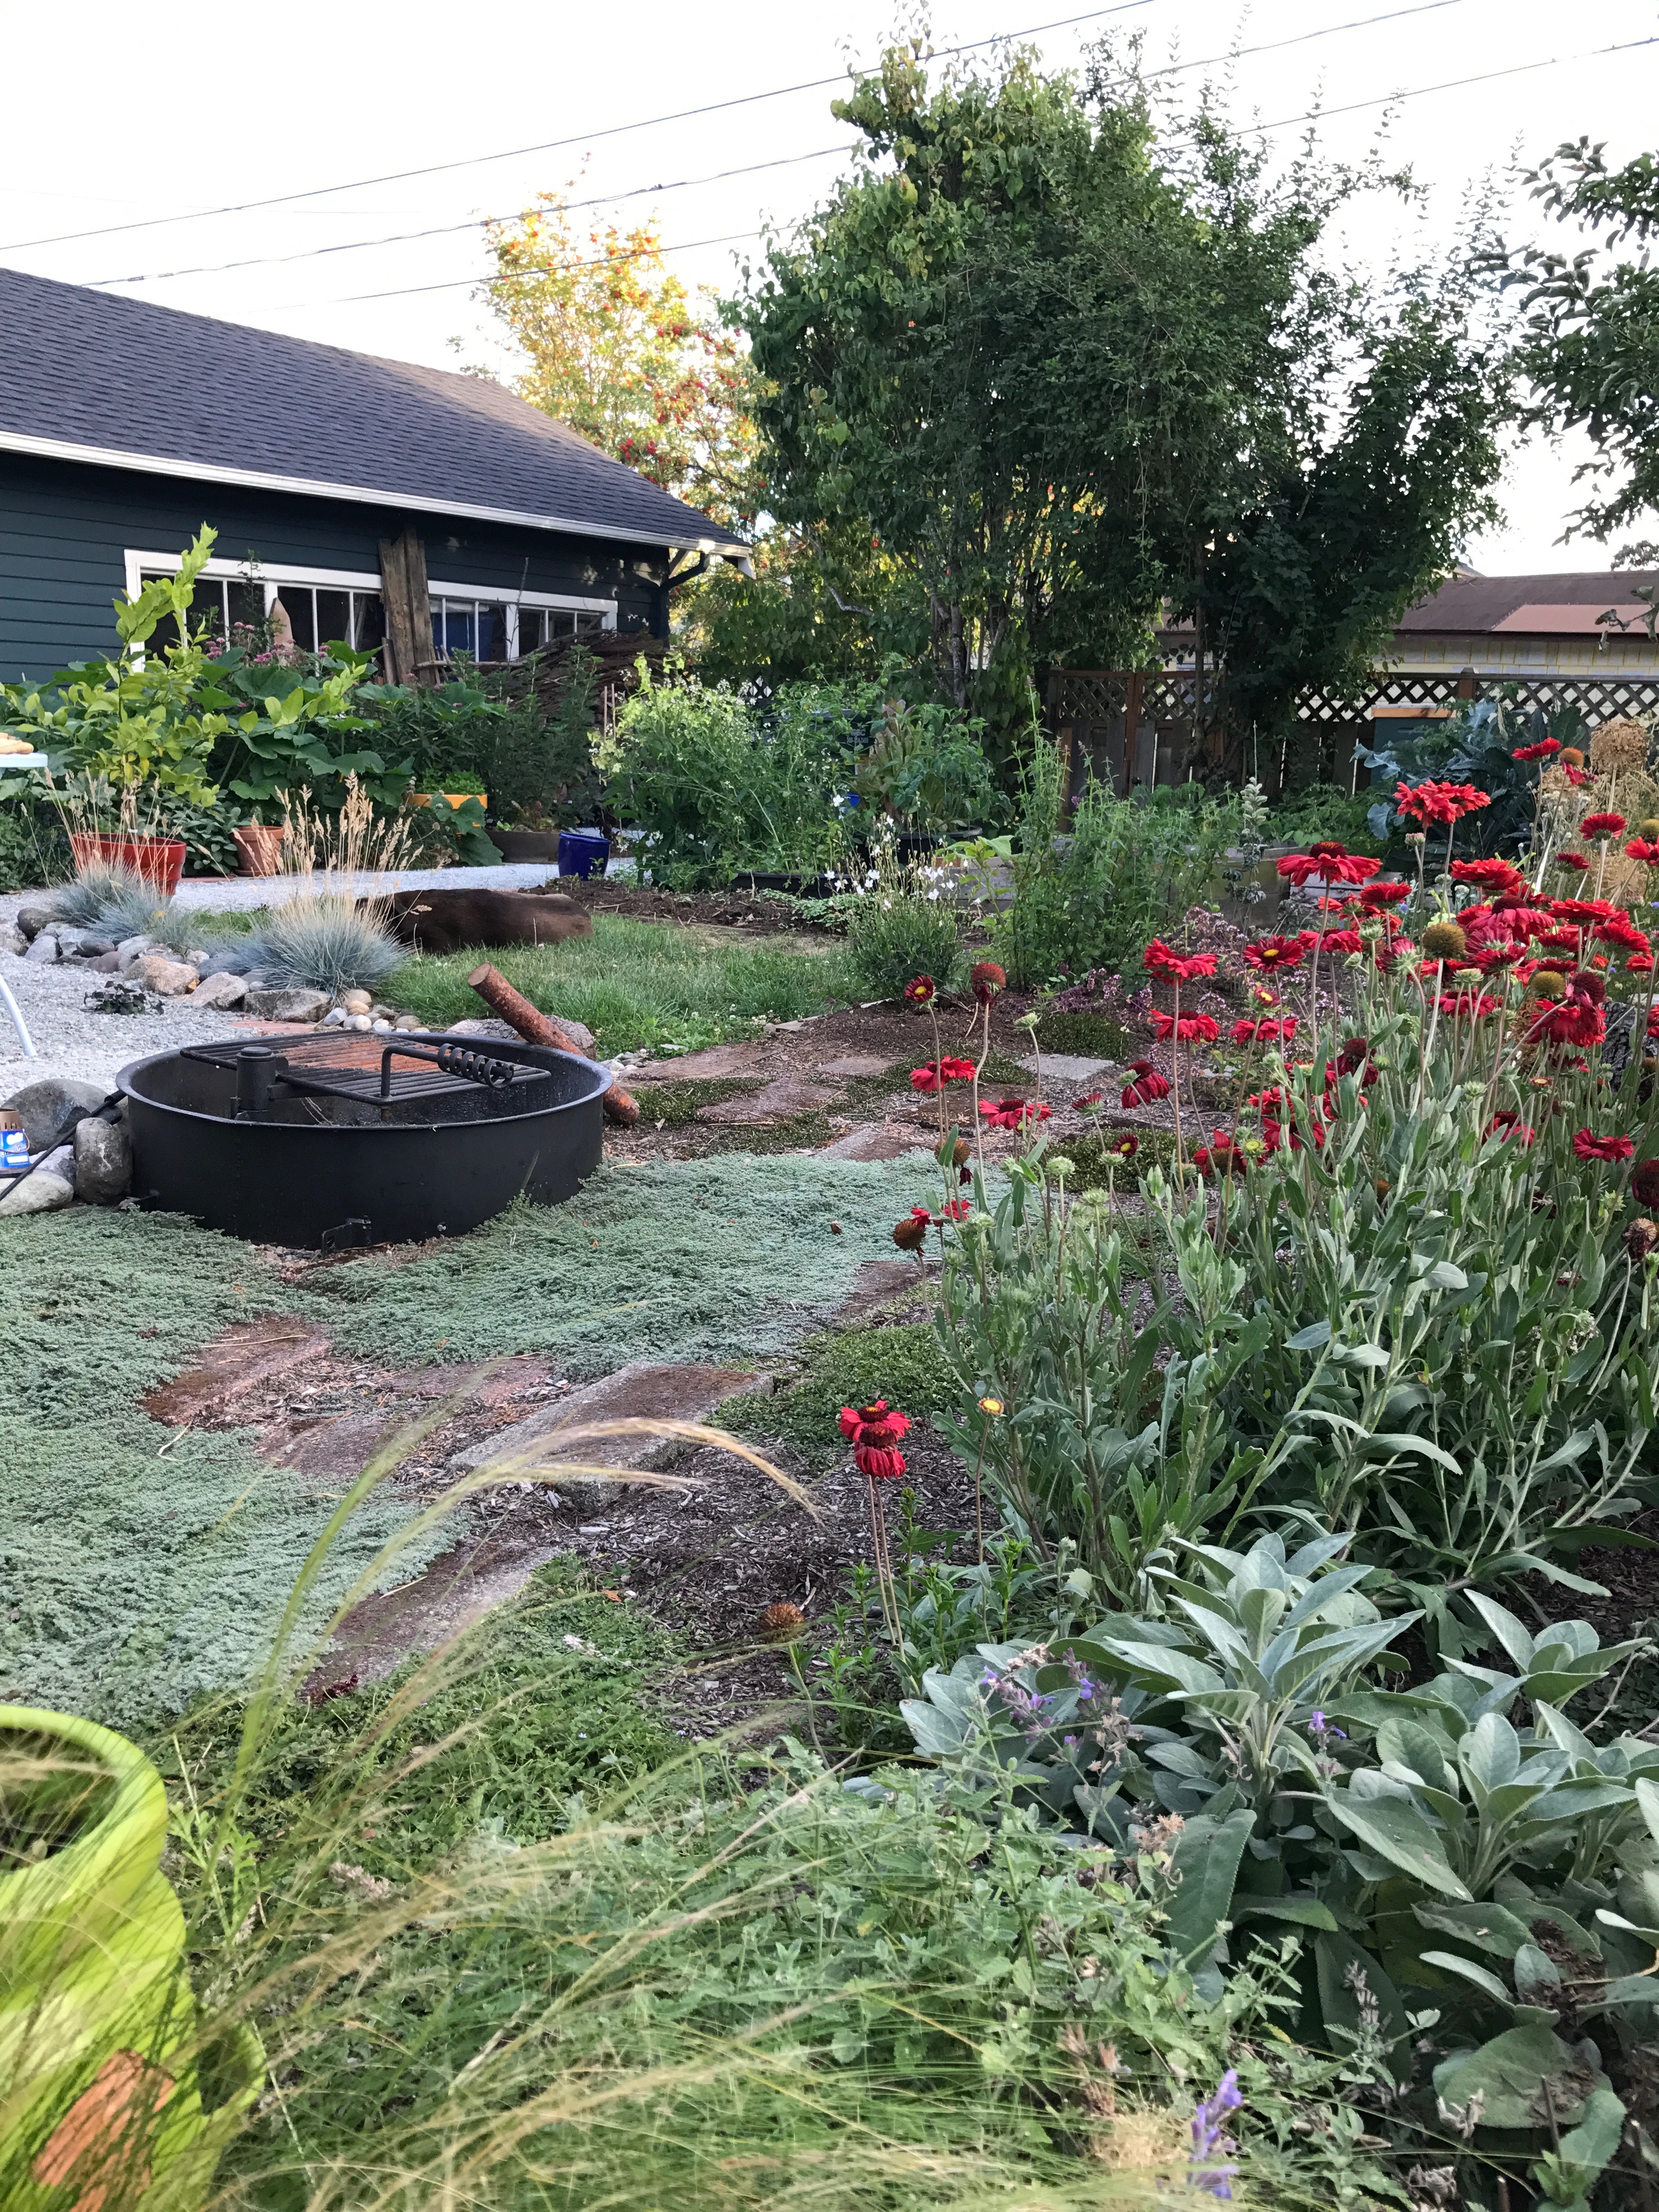
For example, our backyard gets great sun, but is bordered by a garage, an ancient apple tree, and a mountain ash. This means that I’ve clustered the beds for growing veggies in the center and around the perimeter of the gravel patio I installed, while shade-tolerant things go around the edges. I also planted dwarf versions of a four-way plum cross and an apricot along the north edge of the yard, to screen our view of the neighbors’ houses and to provide fruit.
The south side of our house has prime real estate for growing heat-loving things, but only in the summer. In the winter, the sun’s angle is too low ever to get above the roofline of our neighbor’s house, and so anything perennial in this area needs to be cold and shade tolerant.
This area also has a long driveway that banks the heat that collects between our house and the neighbor’s. Because we’ve parked the car in the garage approximately once since we moved in eight years ago, I’ve claimed this area as patio space with containers on wheels to take advantage of seasonal warmth and sun. Last summer, I grew tomatoes, squash, and corn in an in-ground raised bed between the driveway and our house; they loved the reflected warmth from the concrete and the two houses and got enough summer sun to be viable during the growing season.
Plus, the in-ground plantings of flowering currant, evergreen huckleberries, beach strawberry, a persimmon, and grasses provide a visual buffer between our house and our neighbor’s.
Good plantings make good neighbors, after all.
Work with on-site conditions
A corollary to the microclimate advice is to work with the site you have.
Although you can alter soil conditions–and in some cases that’s absolutely necessary, such as when growing vegetables–in the long run, you’ll be most successful if you work with what your site offers in terms of soil, microclimate, and built environment.
In addition to its location on a busy thoroughfare, our front yard is dominated by a huge tree that has been rather unfortunately maintained over the years. We’ve worked with an arborist to keep it safe and healthy because it is beautiful, but it’s presented a puzzle for plant choices. It’s been pruned over the years to a high height, which means that the area beneath it gets a fair amount of sun. However, canopy cover and an established root system mean that anything planted beneath needs to compete for water.
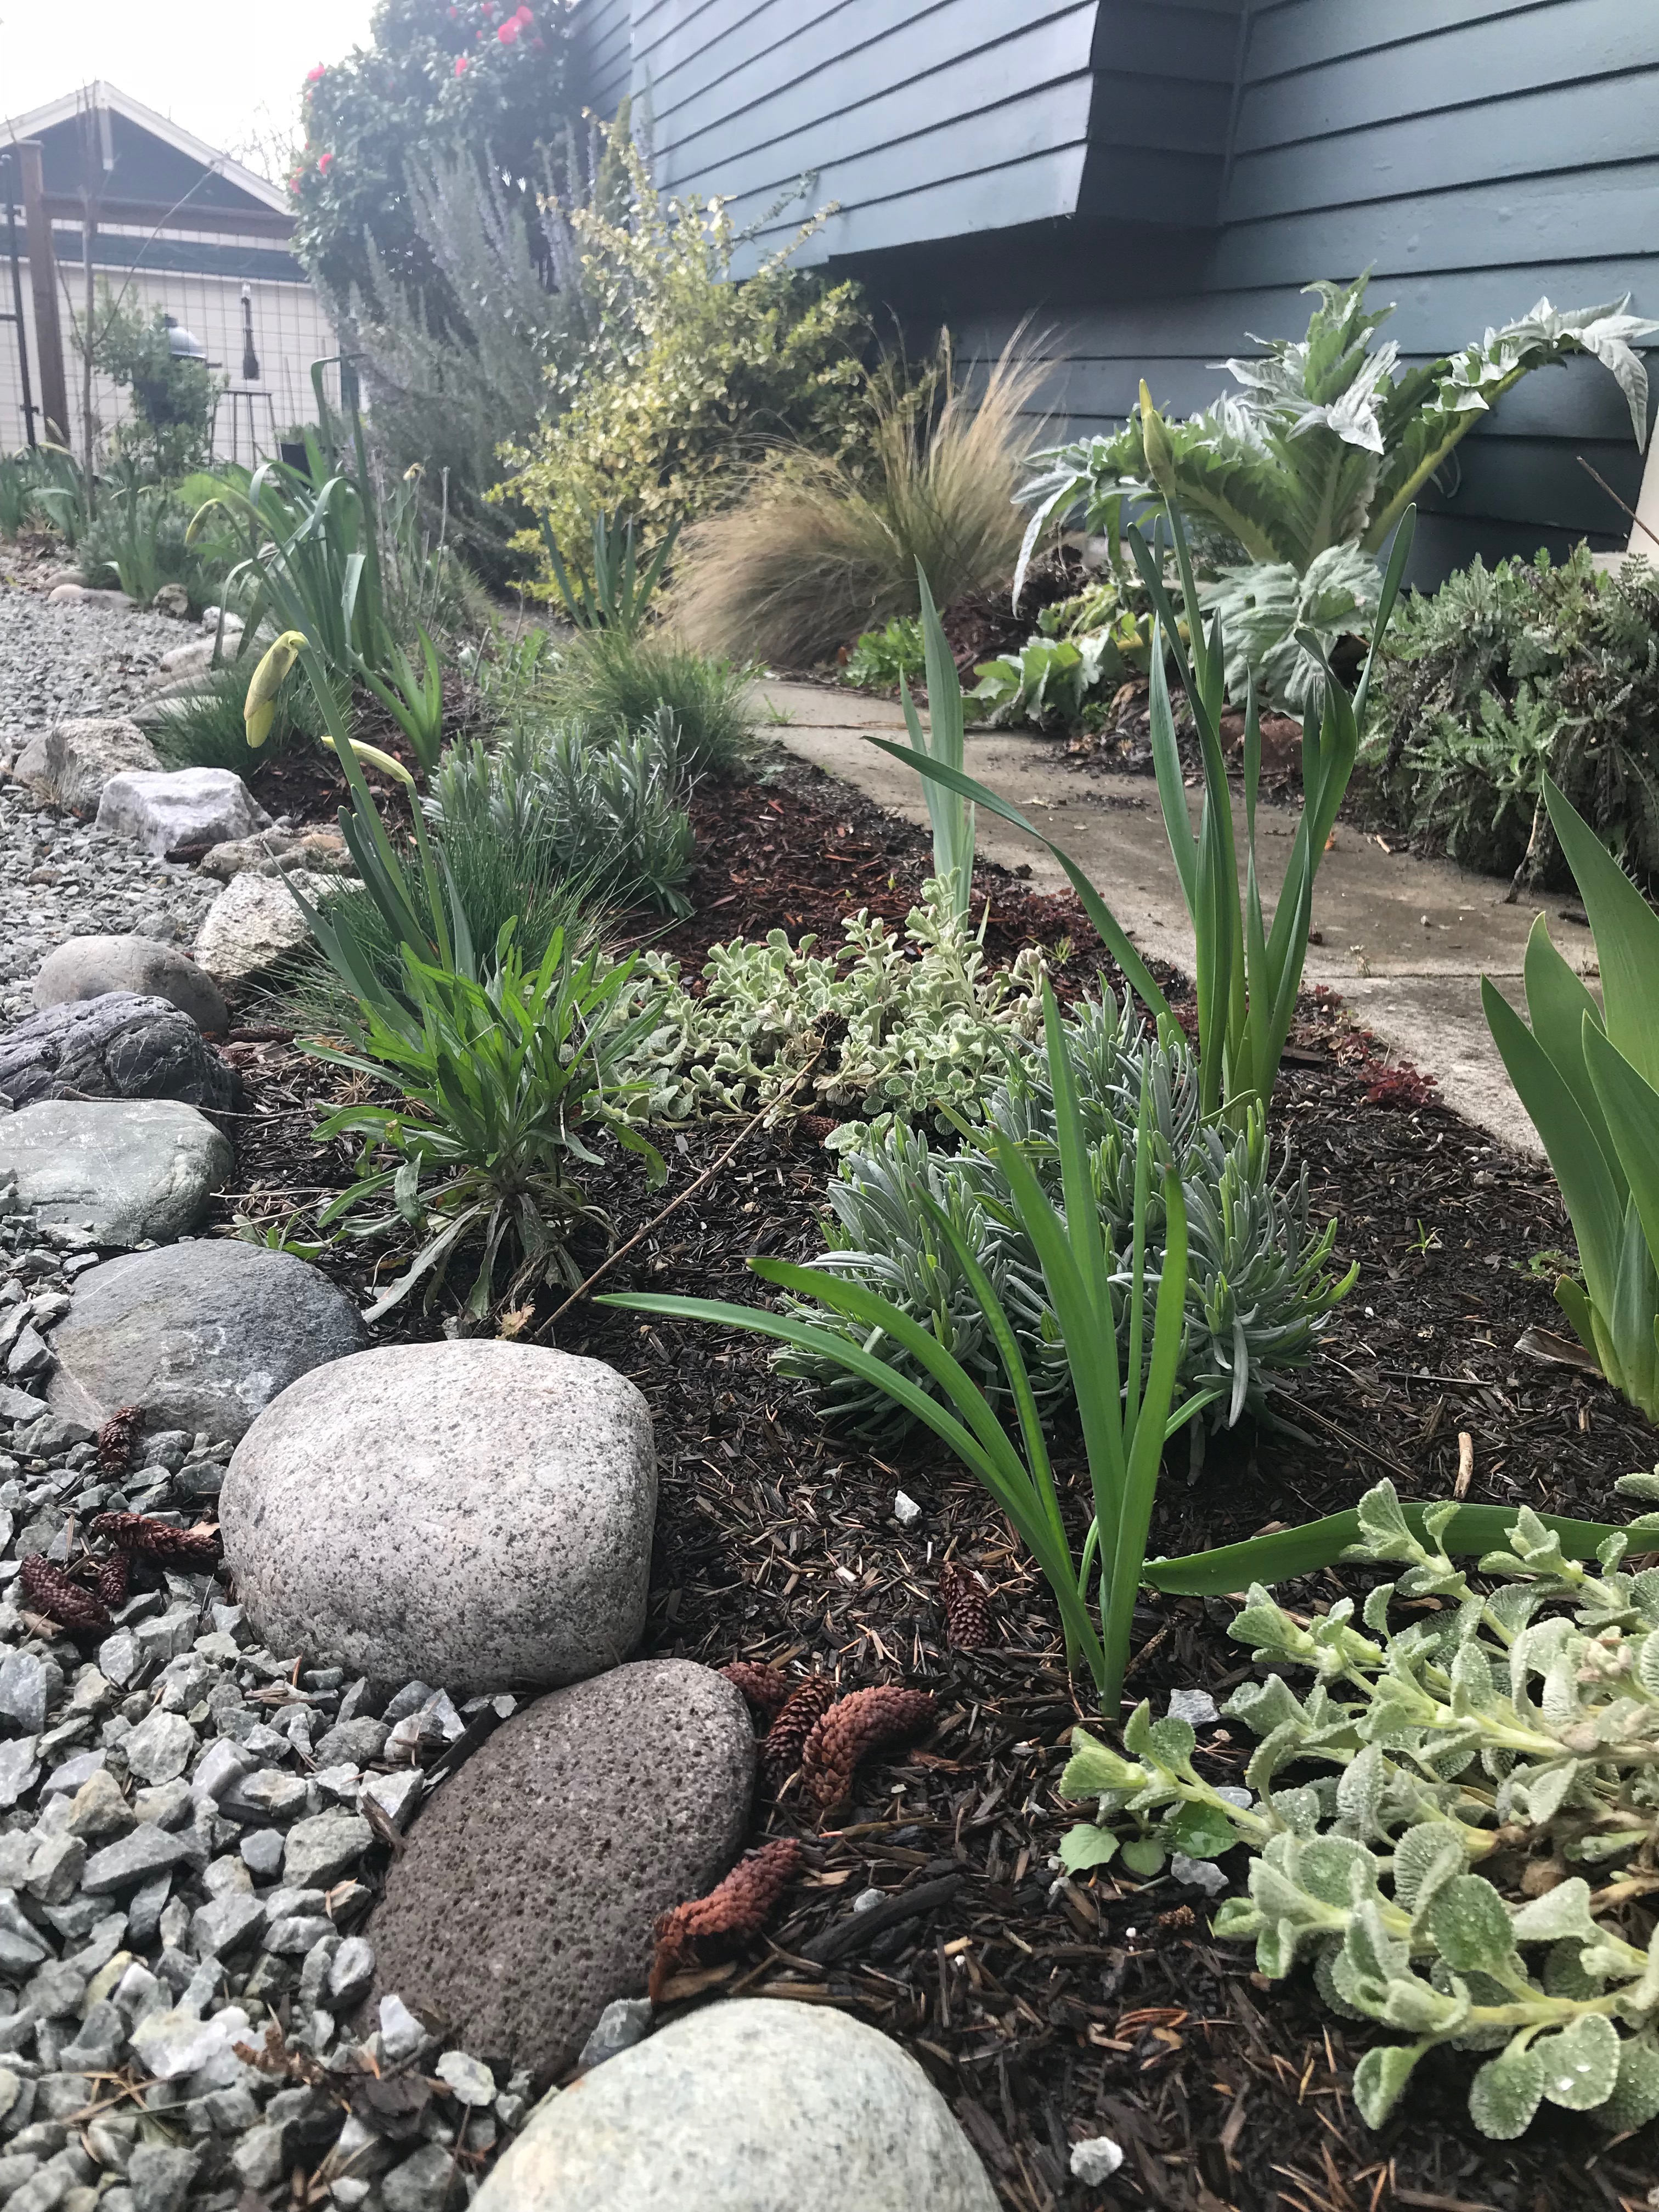
For this area, I chose mostly Northwest natives and other similar plants that are acclimated to these conditions. I’ve planted evergreen huckleberries (Vaccinium ovatum), along with salal (Gaultheria shallon) and Western sword ferns (Polystichum munitum). Winter-blooming heather and low-growing, salt-tolerant junipers and beach strawberry are along the edges, with sarcococca (sweet box), grasses (including my favorite, hakonechloa), red-twig dogwood, and a Spring Bouquet viburnum to vary plant heights and eventually provide a visual buffer to the busy street.
On the other side of the yard, there’s a jumble of Oregon grape into which I’ve mixed dwarf, decorative versions of the native Thuja plicata because I want pretty and private, not a tree farm that I’ll need to log in a few years. I’ve also added Japanese maples because they’re a riff on the native vine maple and other native and native-like plants (snow berries, coral bells, hostas, hellebores, ferns). This area needs more work, but that’s a project for coming seasons.
Take the freebies
As I worked on this garden project, two of my very real constraints, in addition to budget, were my physical strength and our car, which is decidedly not a truck in which to haul debris and garden materials.
So I improvised, composting in place and building garden features with materials I had on hand. I also timed deliveries of things like gravel and bulk mulch in order to round out what I couldn’t find on site.
Although there are several methods for grass removal, we mostly dug it out by hand because we had a healthy population of morning glory, ivy, and other invasive weeds. Anything with either morning glory or Himalayan blackberry pieces went straight into the yard waste tote provided by our sanitation company, but we were still left with a fair amount of compostable material. This was mostly buried under soil in berms and at the bottom of deep containers.
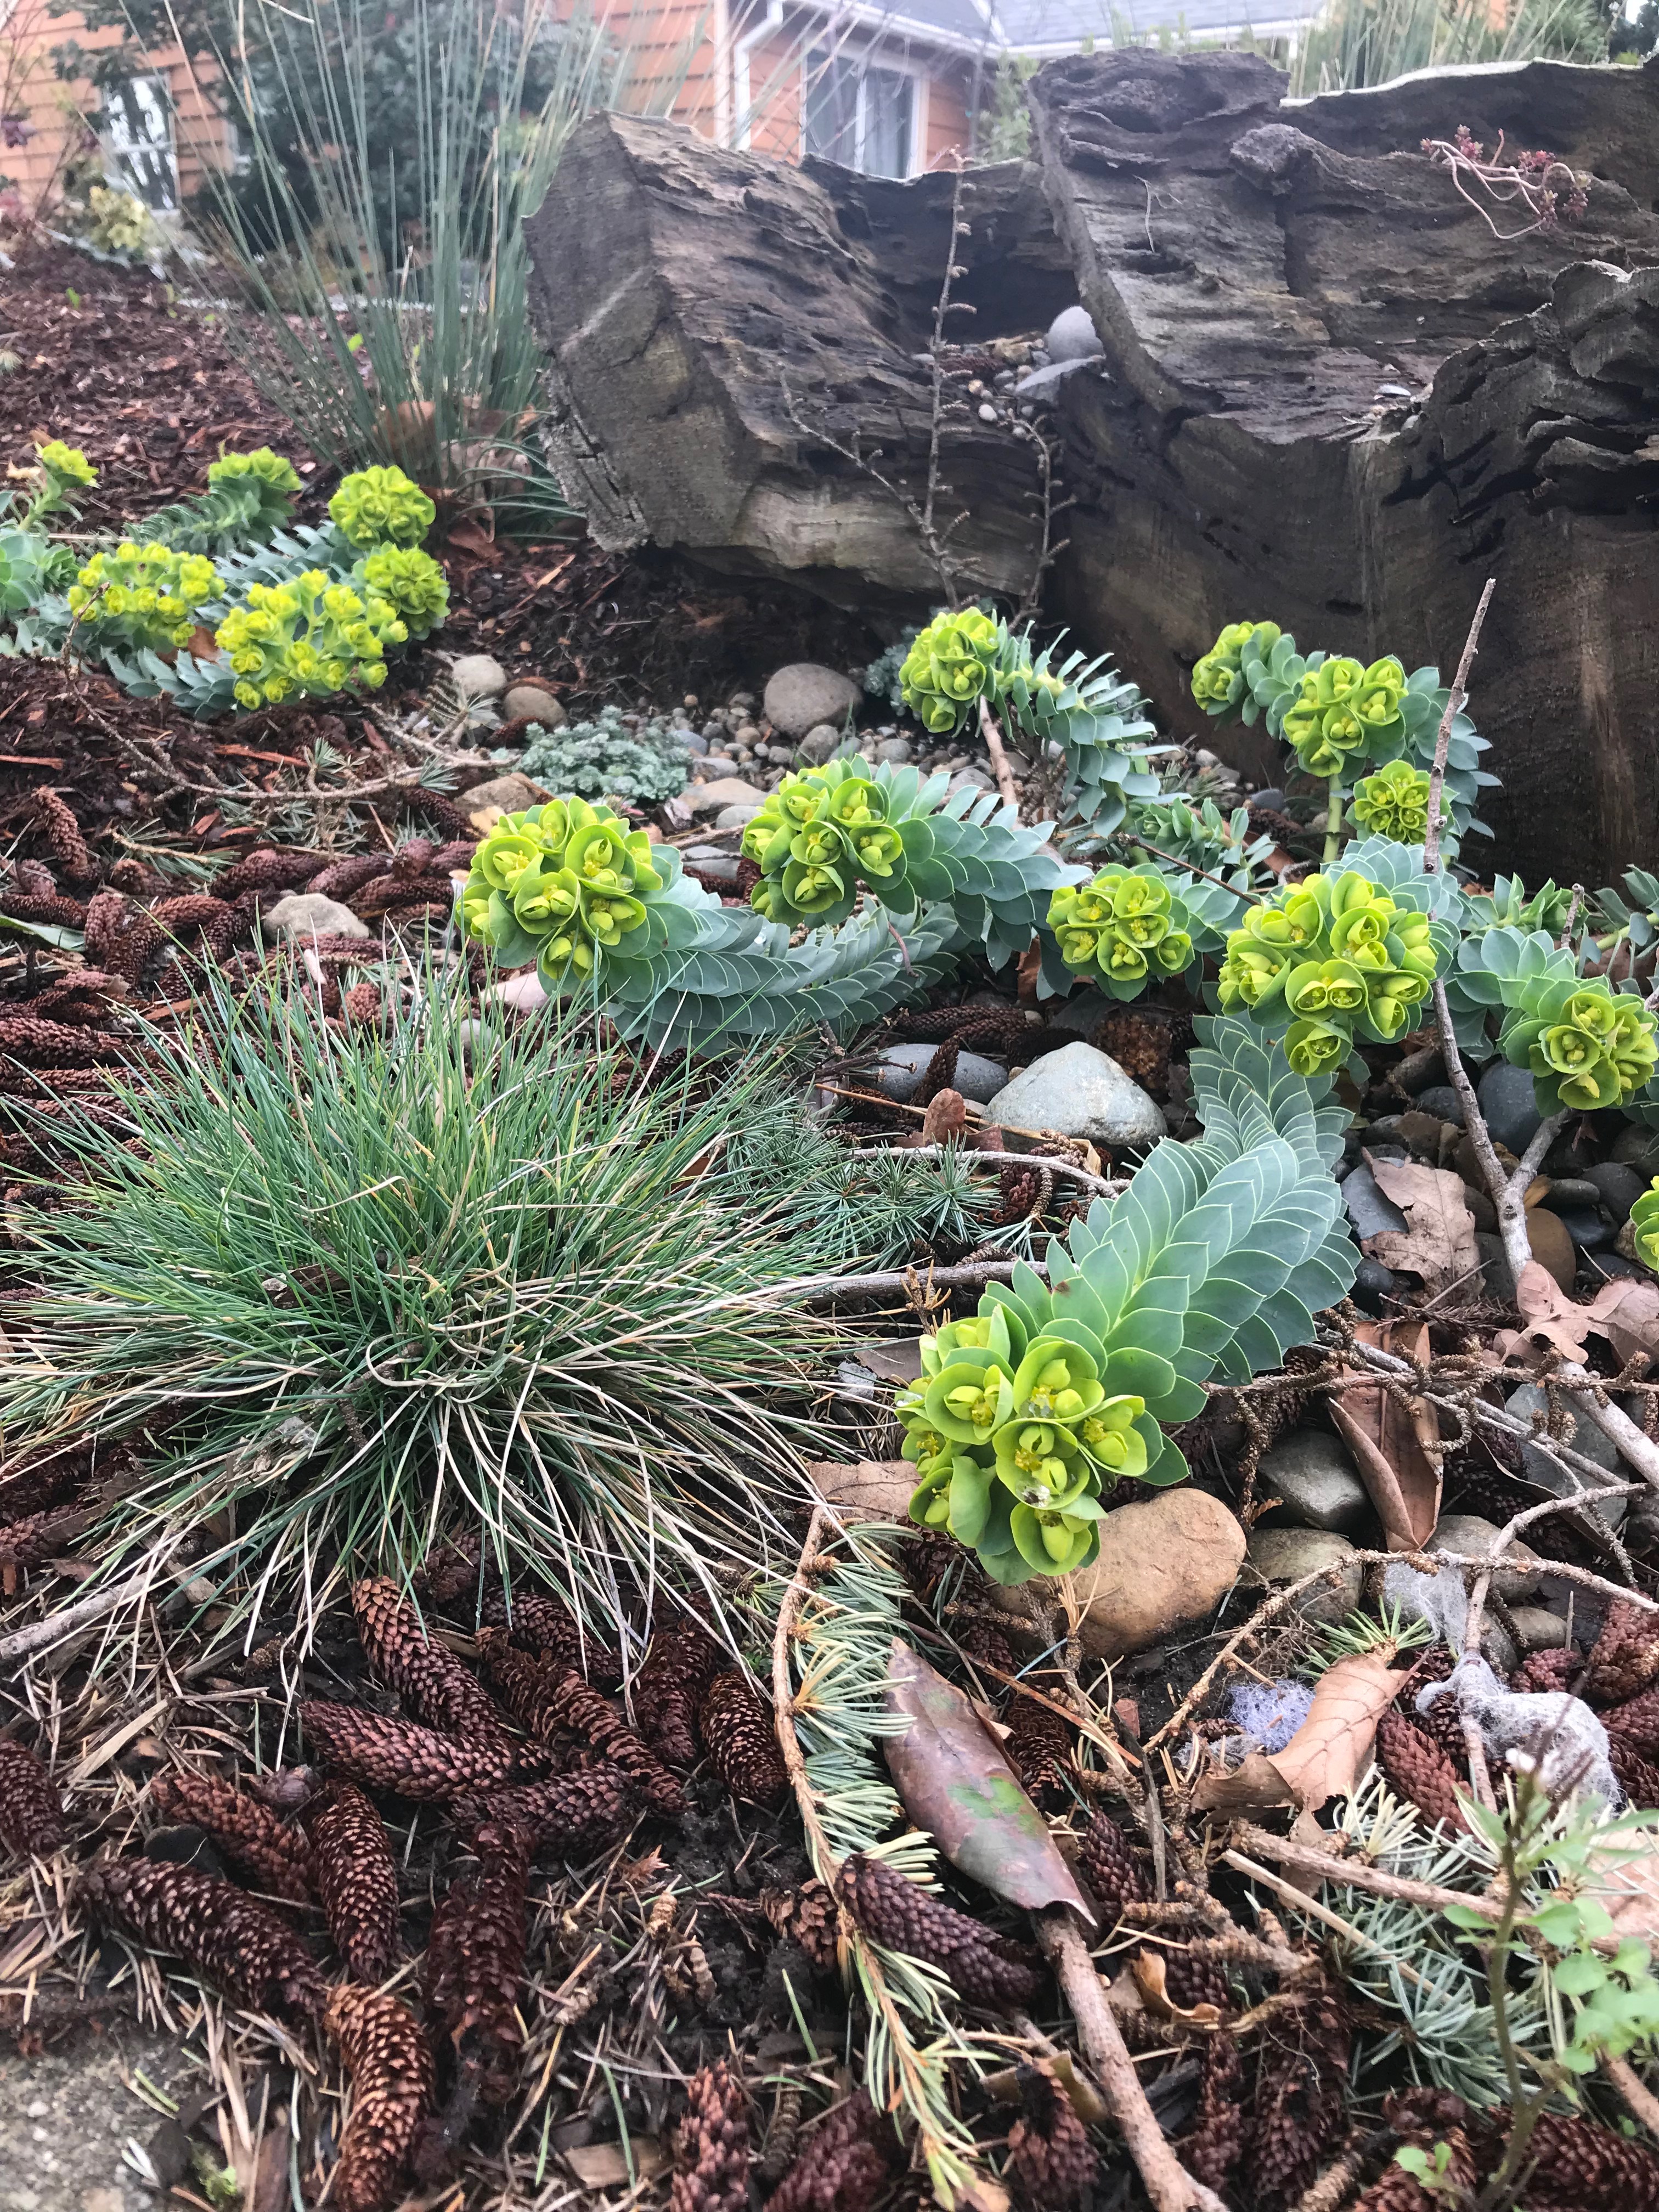
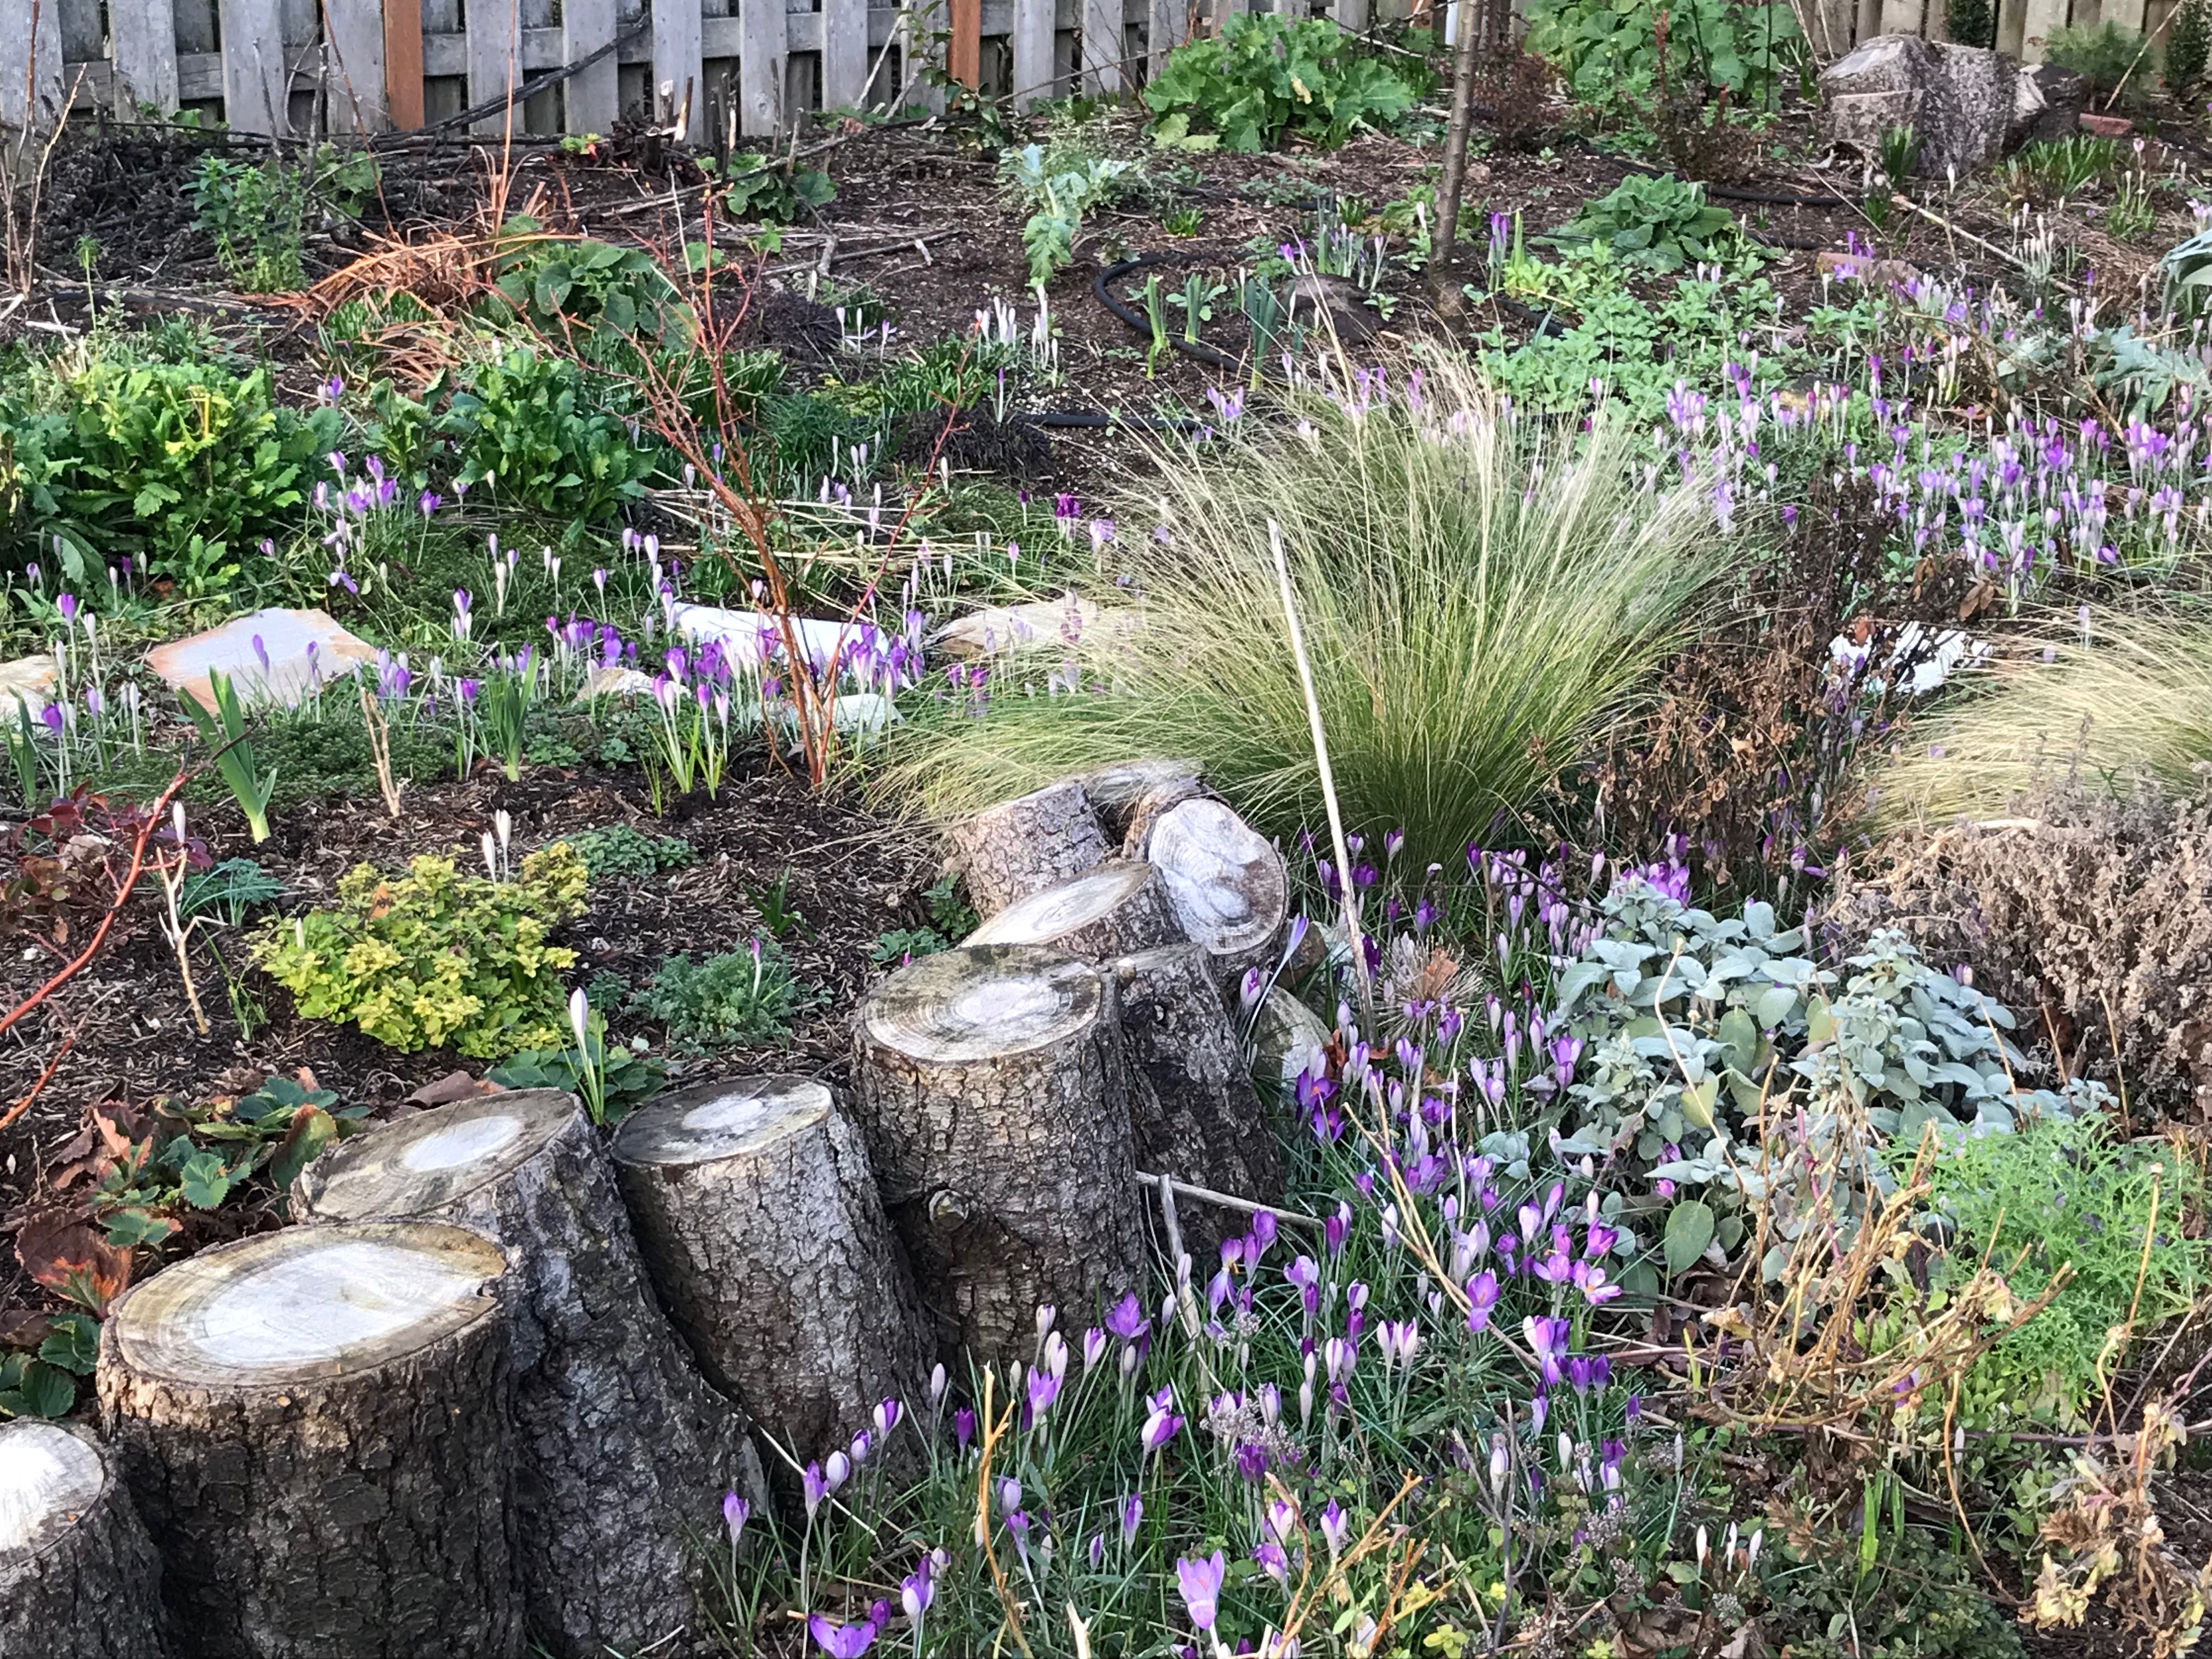
We also had a ready supply of logs and tree pieces from varying tree work we’ve had done over the years. Several of these were so big that there was simply no way I could load and haul them off on my own, so I used this and other pieces of wood to build a series of berms, hugelkultur beds, and stumperies.
Full disclosure: When I planted my stumperies, I was just trying to use up excess material by imitating nurse logs I’d seen while out hiking. But it turns out that stumperies are an actual thing. To bring it full circle, there are those who combine hugelkultur with stumperies, as in this project.
I also re-purposed paving stones and old bricks, in addition to building raised beds out of reclaimed wood. This is a fancy way of saying that I built stuff out of things that were lying around the yard.
You’ll also notice an abundance of hollyhocks in these photos. They were there when we moved in, so I kept them. We’ve also kept the apple tree and most of the other (healthy) trees, including the gigantic English laurel (Prunus laurocerasus) and photinia that provide privacy along the north side of the house. The spring-time carpet of crocus likewise predated our tenure in the house. Again, free.

Take your time
This is the advice I most did not want to hear, because I am impatient and because our yard was a weedy mess torn up by various house projects over the years we’ve lived here.
So, naturally, spreading the project out over several growing seasons was the best thing I could have done. This is for practical reasons, such as the finite quantities of time, energy, and money I had available for this project, as well as more philosophical ones.
Time is a stern teacher but a wise one, and comparing the back garden, which is where I started, with later plantings demonstrates just how much I have evolved over the seasons.
Additionally, start with smaller plants to save money and let the plants come of age in their intended spots (unless of course you transplant them…). Starting things from seed likewise saves money and gives you the chance to try things you might not otherwise have access to. This lets you observe your garden as it develops over time and figure out how to give it what it’s asking for.
Over time, your garden shapes you as much as you shape it. In short, over time you become a gardener.
Resources that I’ve found helpful:
Gaia’s Garden: A Guide to Home-Scale Permaculture
The Well-Tended Perennial Garden
The Edible Front Yard: The Mow-Less, Grow-More Plan for a Beautiful, Bountiful Garden
Be First to Comment