OK, OK, you convinced me that I need to dedicate 20 hours to tamale making. How do I get started?
Glad you asked.
I use the recipes in Zarela Martínez’s wonderful book, Food from my Heart, and I’d suggest starting there.
What follows, however, are my notes on things I’ve adapted over the years of making tamales.
All quantities are for ~50 tamales; adjust as necessary. I suggest doubling the recipes at a minimum; the past two years, I’ve quadrupled them.
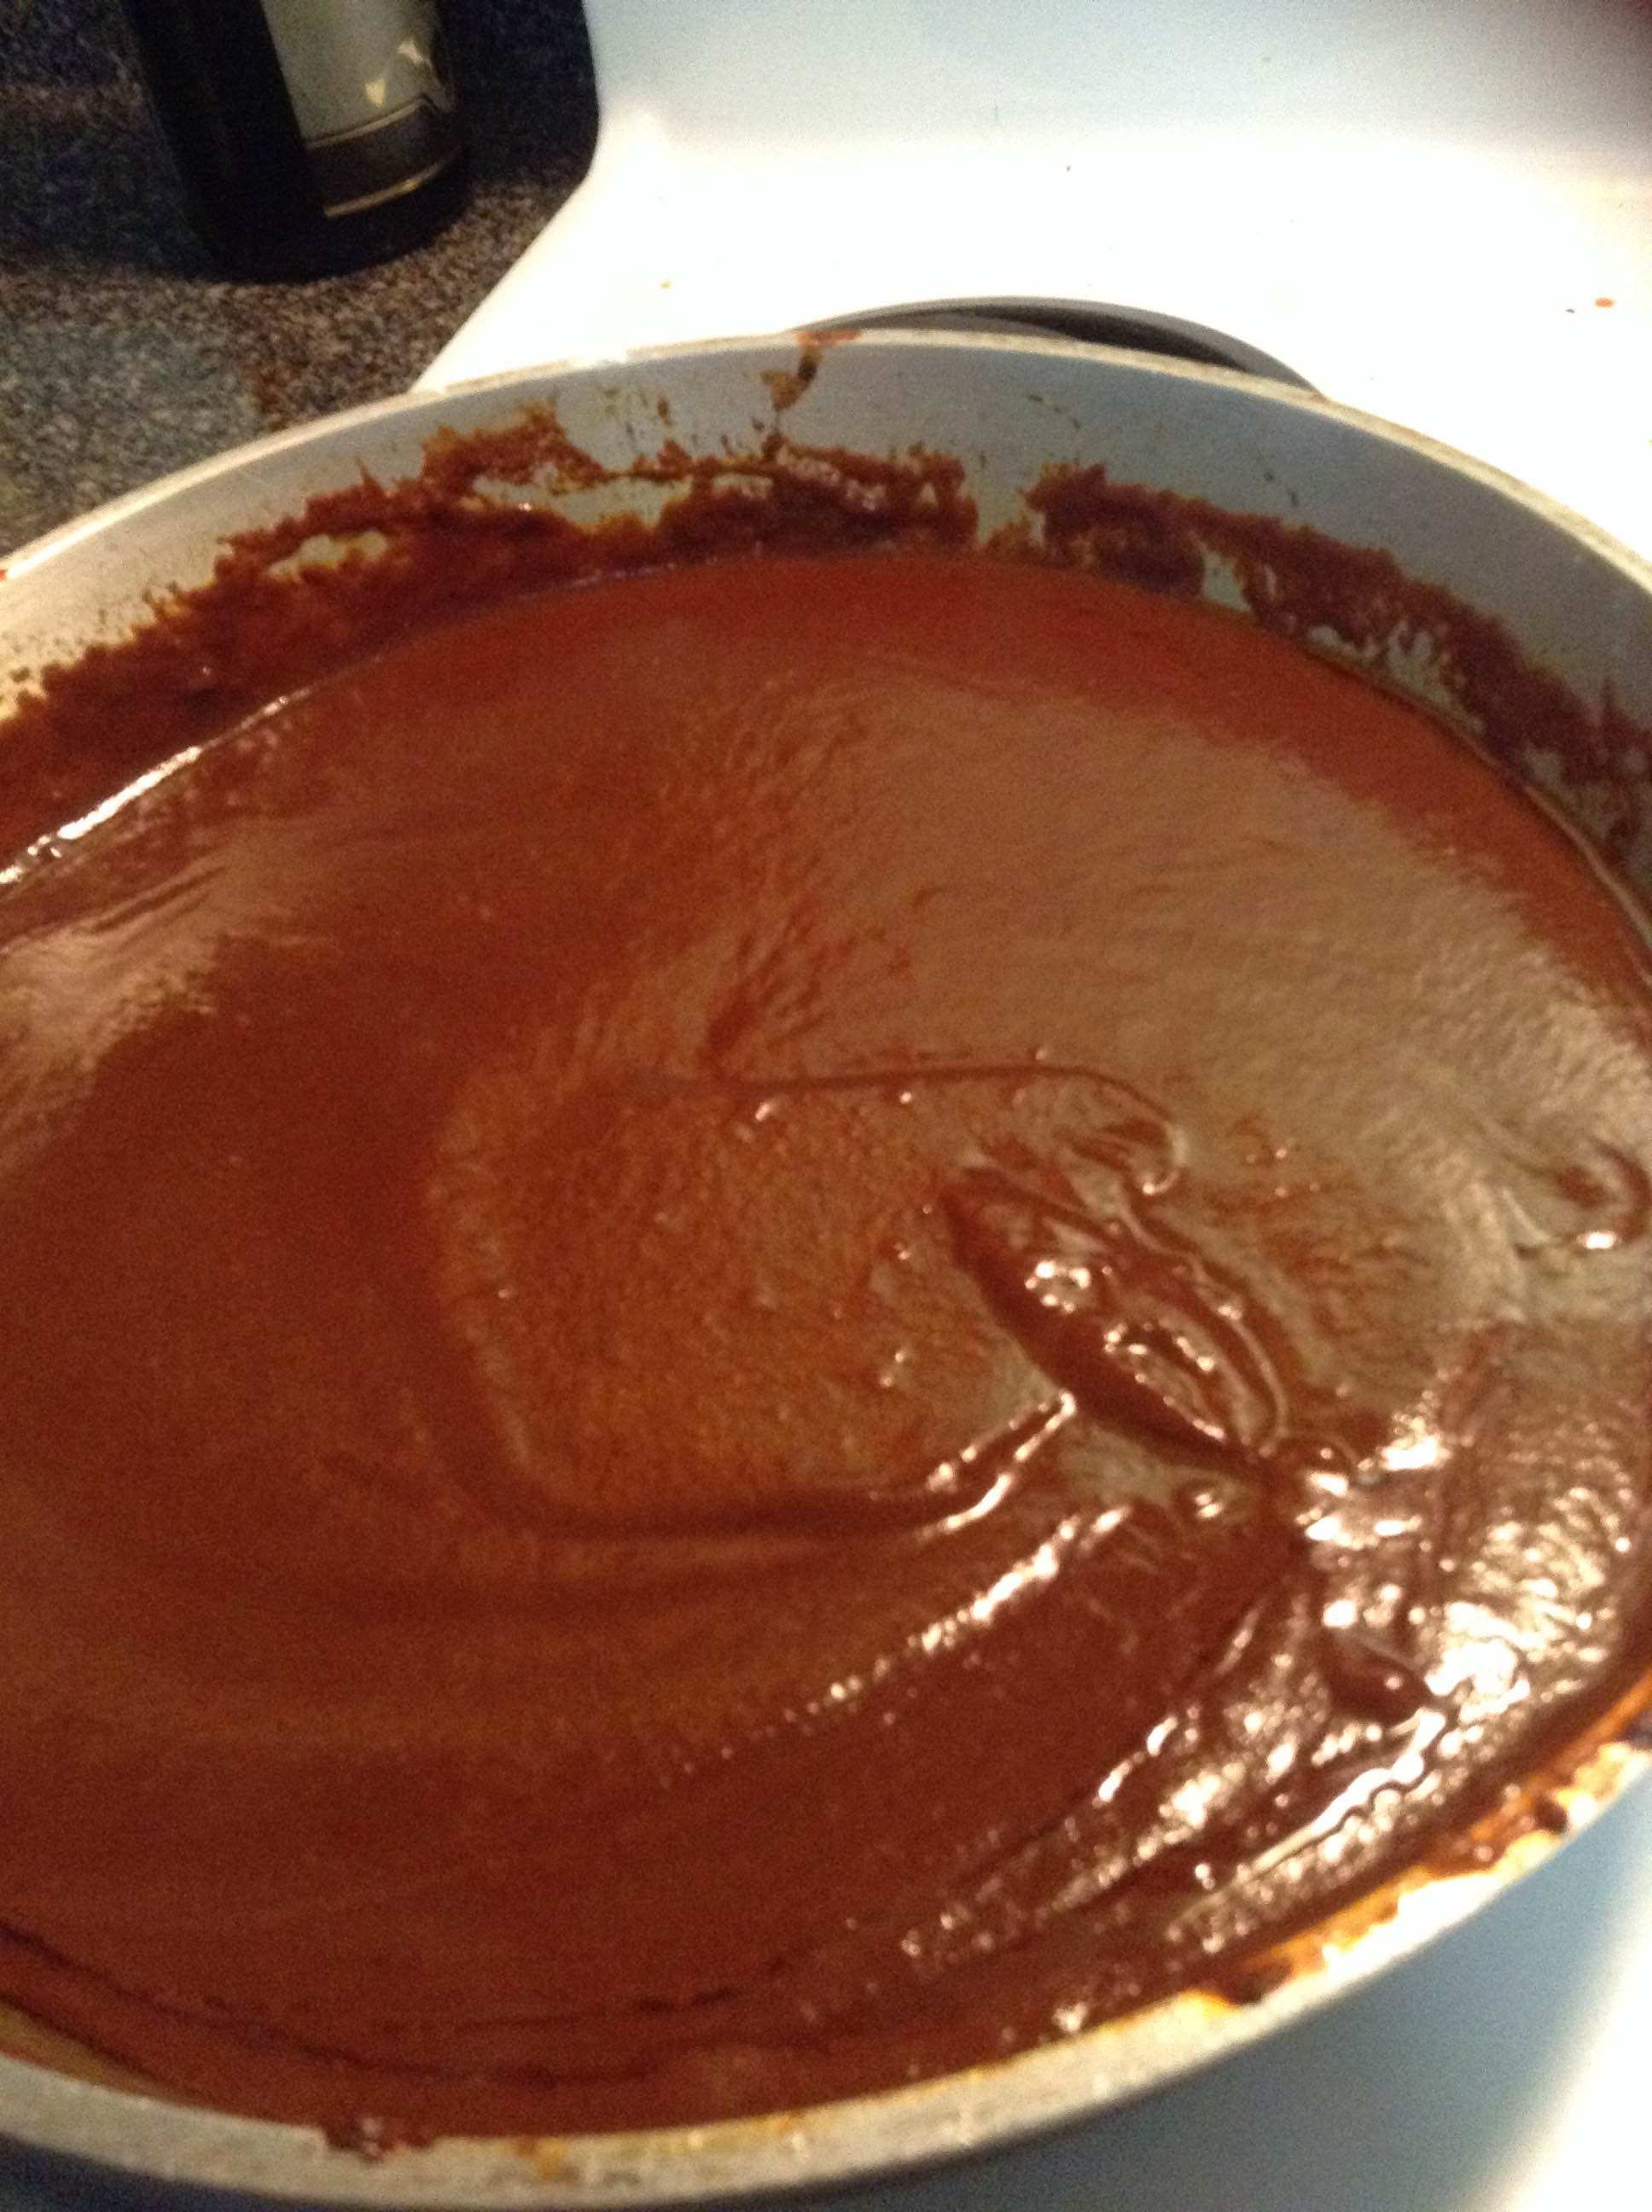
Salsa de chile colorado
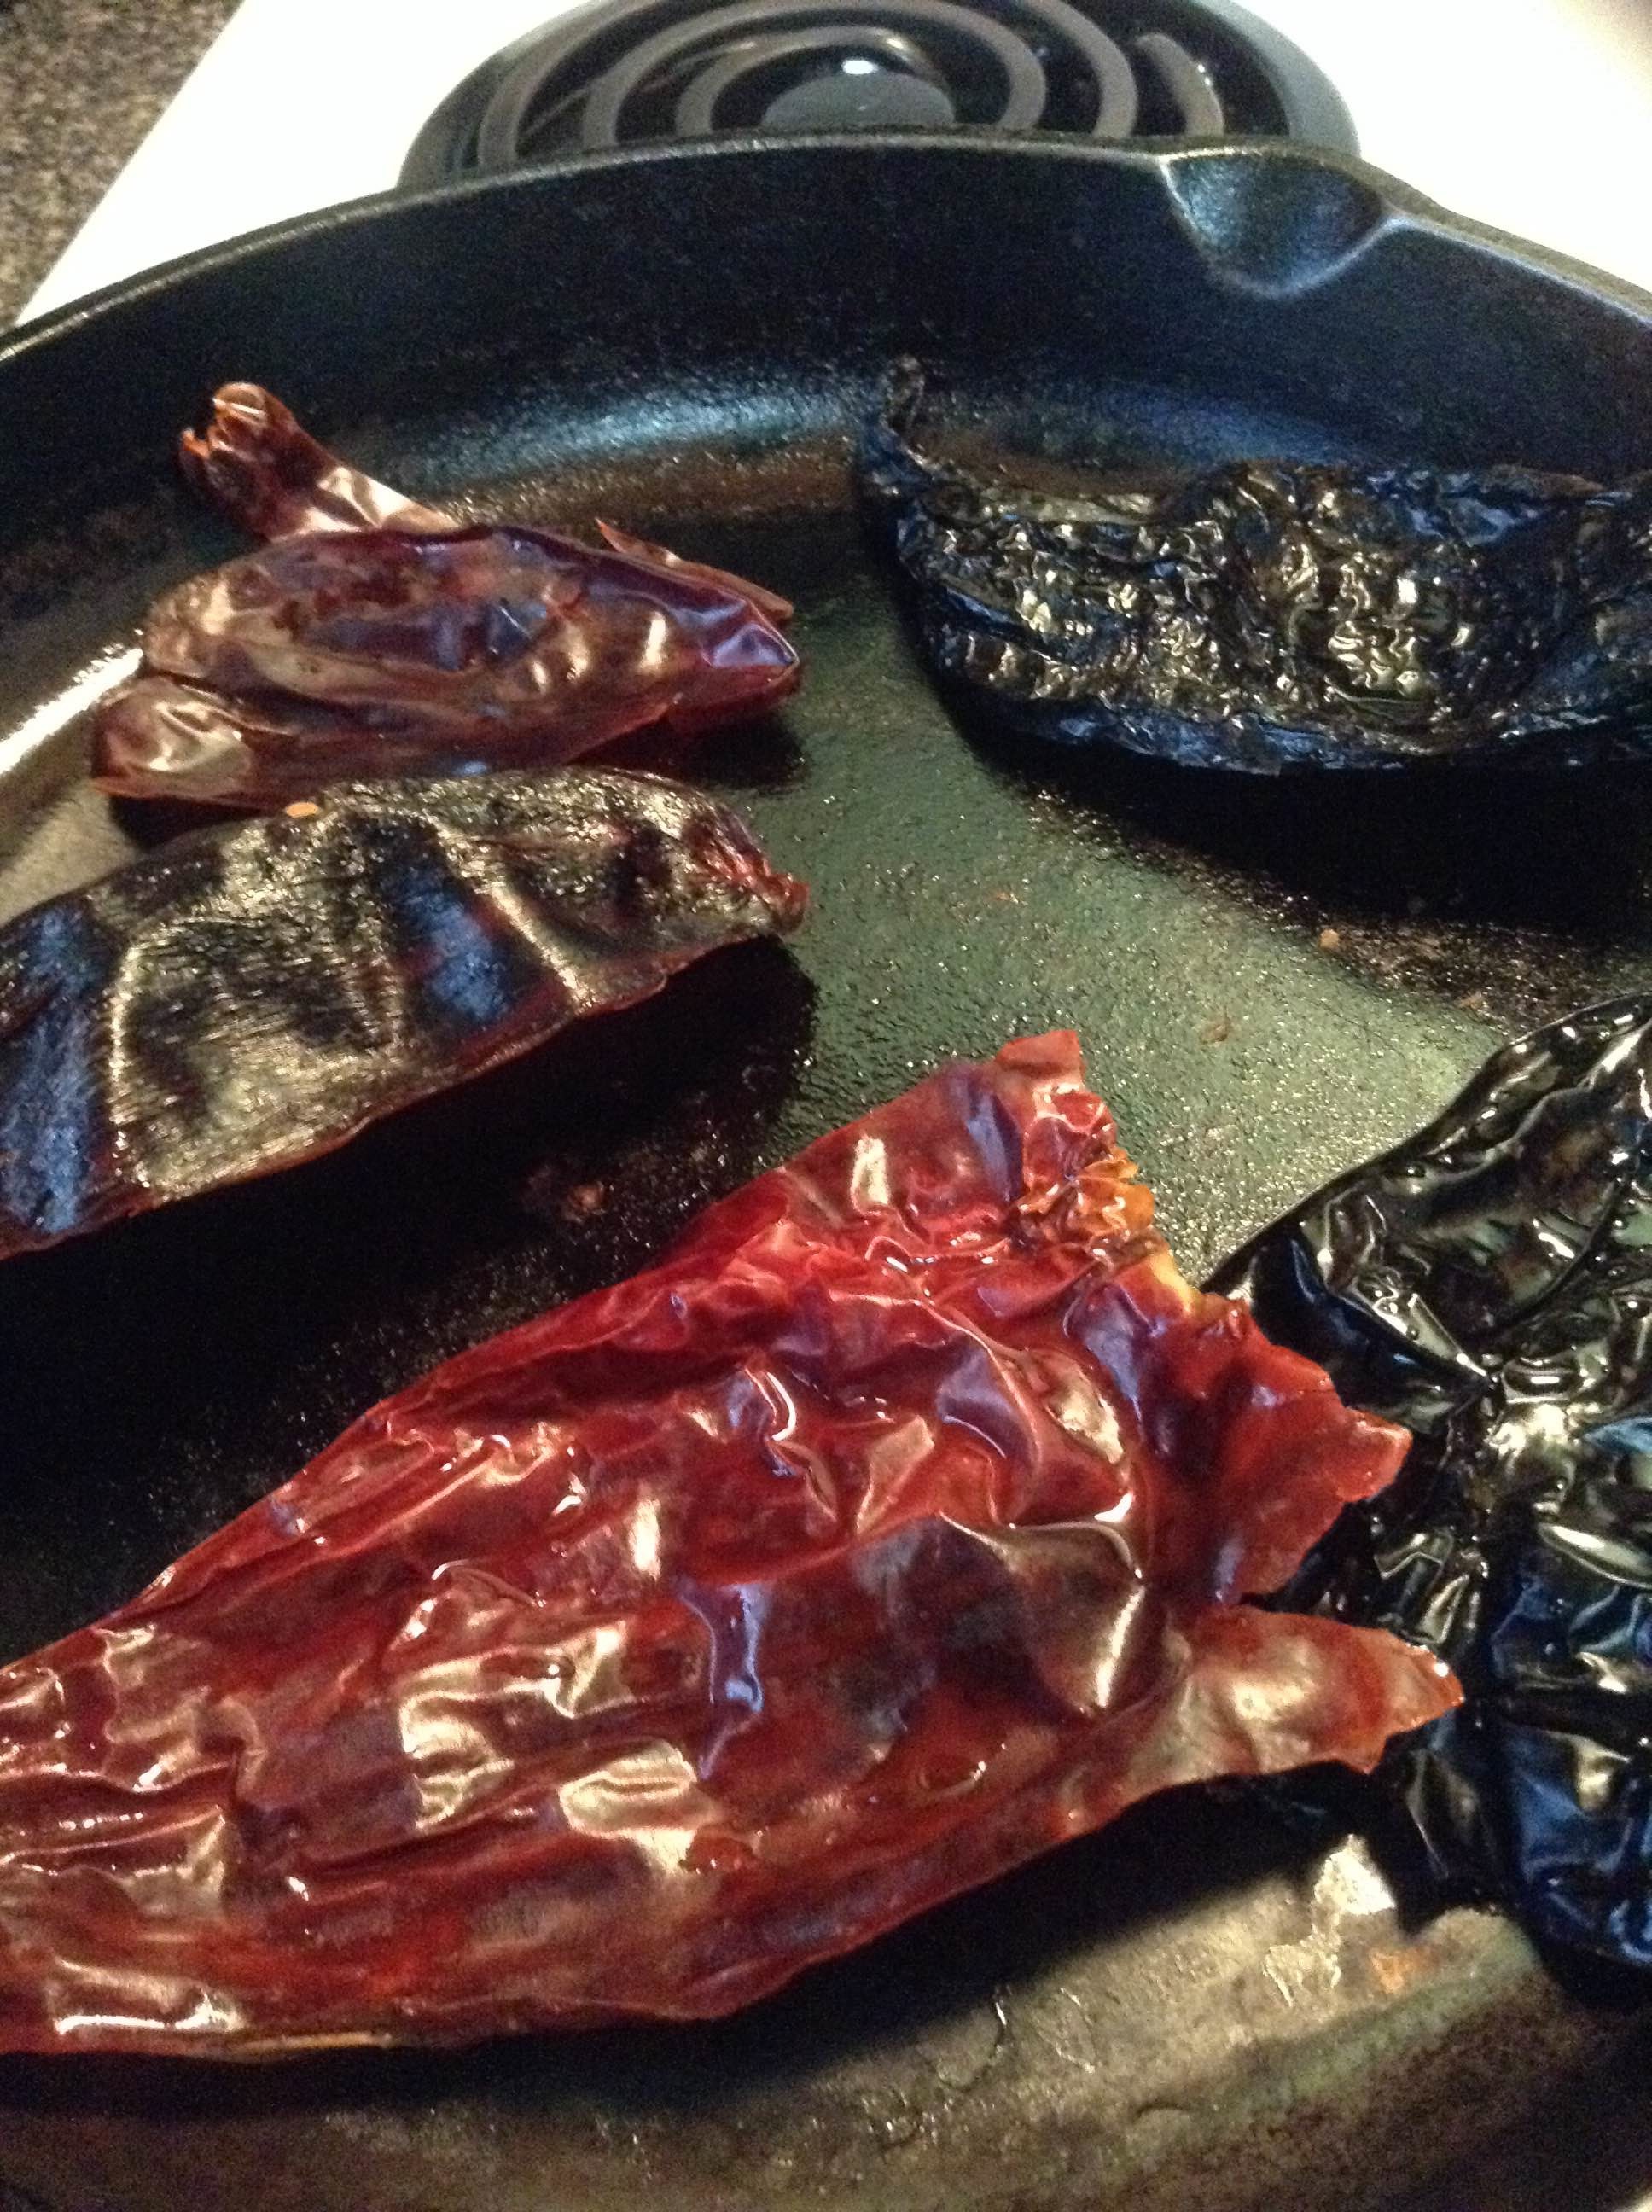
Start with 6 ounces of dried chiles. I like to use a combination of types, and this year I used guajillo and chile negro,
This is perhaps the most interesting step, from a cultural point of view, and results in an extremely versatile sauce.
First, you stem and seed the chiles. To do that, I usually cut the top off with kitchen shears, then cut a slit down the side to open them.
Then you toast the chiles lightly, just until they release their smell, but not so much that they char. Burned chiles mean bitter sauce.
Once they’re toasted, soak them in hot water for 10 minutes or longer.
After they’re soft, pulverize them with 2 tsp oregano, 3 cloves of garlic, and 2 cups of either water or stock. I use the food processor for this step.
Run them through a mesh or sieve to separate the flesh from the skin (and any annoying seeds that are still hanging around). Add extra liquid as necessary to help the sauce run through the sieve.
This is the step that can be tedious, especially in large quantities, so accept help if it’s offered!
After you’ve got the sauce, you’re ready to cook it. Make a roux with 1 tbs of flour cooked until golden in 2 tbs of fat (pro tip: render your lard first and then use it to cook the sauce). Add the chile sauce–carefully, because it will spatter and burn–and salt to taste. Cook about 10 minutes, until the raw taste disappears and the sauce takes on a mellow taste.
If you don’t use it all for the tamales–and I suggest making extra–it’s wonderful on beans, as a braising sauce for meat, in enchiladas, and many other dishes. So worth it!
Rendering lard
You can buy lard at a good grocery store, but stay away from the hydrogenated stuff. I’ve bought it at Mexican groceries, too, but why buy what you can spend hours making yourself?
I buy fatback from the butcher, then chop it into small pieces and heat them over a gentle flame. Sometimes I’ll add a little water to the pot so the fatback doesn’t scorch before the fat begins to render.
Because chopping the slippery fatback into small pieces is hard, even with a sharp knife, I usually let it cook a bit and then run it through the food processor. This cuts the fatback into small bits, which helps the lard render faster and leaves you with tasty, crumbly bits with which to garnish beans or other dishes. I usually freeze these bits and use them throughout the year.
Cook the fatback bits over low heat until the fat runs free; I usually transfer them between two pots to strain out as much fat as possible.
The fatback I buy often has small pieces of meat, and this cooks down along with the layer that holds the fat. The more these bits brown, the stronger the pork flavor will be. I probably wouldn’t use this lard in anything that calls for a delicate fat, but it’s excellent in enchiladas, soups, potatoes, and other dishes where the porkiness is appreciated. It stores well in the fridge, so again I try to make more than I’ll need for the tamales themselves.
You will need 1 lb of lard per 50 tamales.
Pork butt
1.5 lbs pork butt
peppercorns
garlic
oregano
Bring the meat to a simmer in a stock pot filled with water. Skim foam, then reduce heat and simmer until it’s done but not dried out, about 1.5 to 2 hours.
Let the meat cool, then shred into bite-sized pieces.
Add about 1.5 to 2 cups of red sauce, until it’s completely sauced but not saturated.
Reserve the cooking liquid for the masa.
Making the masa
3 lbs of fresh masa OR 4.5 cups of dried masa, reconstituted with 4-5 cups of pork stock
1 lb lard
2.5 tbs salt (Note: Even though most of the salt is lost in the steaming process, I thought last year’s version was too salty. I reduced the salt to 2 tbs this year and regretted it, so maybe somewhere in between?)
~half a cup of salsa de chile colorado
Add the stock to the masa. Delight in the smell.
Whip the lard until it’s light and fluffy. I use a stand mixer, and the whipped lard really does look like buttercream.
Mix the lard and the masa, adding salt at the end.
Add the salsa and mix thoroughly.
Assemble the tamales and steam them
As with so many things in life, there are multiple ways to wrap tamales well. I follow the instructions in Zarela’s book, but I’ve also seen all manner of bows, ties, and other wraps to encourage the tamales to stay together while steaming.
To assemble the tamales, you’ll need about a pound of dried corn husks, usually sold in bags of that quantity in Mexican groceries. (Man, would I love to get my hands on some non-commercial corn husks, but I have yet to find a source for those!) Soak the husks in hot water until soft.
In my experience, I’ve found it most helpful to spread a relatively generous layer of masa on a husk laid out flat in my other hand; the narrow portion should be at the bottom with the wider portion at the top. I add a small bit of the meat mixture, fold up the narrow bottom portion, using the masa as a kind of glue, then fold in each of the remaining sides to create a tight package. The top will remain open. I lay each tamal on an angle in a dish until I have enough to pack a steamer, making sure to stack them in a way that helps them stay closed.
I like to go easy on the meat until most of the masa has been used up because I’ve found that a) that makes for a better tamale eating experience and b) it’s easier to find uses for leftover meat than leftover masa (my personal favorite is probably enchiladas).That being said, we had some eager helpers this year and ended up running out of meat. We substituted cotija cheese, and it was a very pleasant accident.
To steam the tamales, I use a cheap metal steamer placed in the bottom of a stock pock. Add the tamales, packing them tightly with the folded ends on the bottom, then add a couple of inches of water. Bring the pot to a boil and steam, covered, for about an hour. Listen to the sound of the boiling to ensure that the pot doesn’t boil dry; my pots are too small, so this step is especially important.
The final step is quite possible the hardest: Resist the temptation to eat the tamales as soon as they come out of the steamer! Let them sit for a few minutes, and the masa and meat mixture will firm up a tad and make them easier to eat.
Tamales freeze beautifully in both their cooked and uncooked stages, so again, it pays to make a lot.
Enjoy–and let me know if you try your hand at tamale making!
[…] has started for the annual tamale party, in which we spend hours upon hours making delightful porky deliciousness in an homage to culinary […]